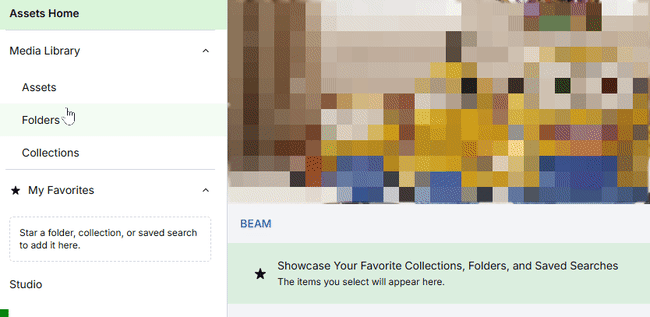
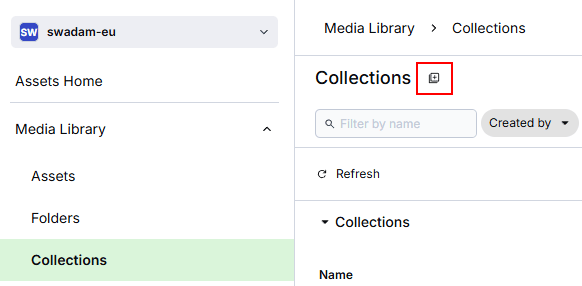
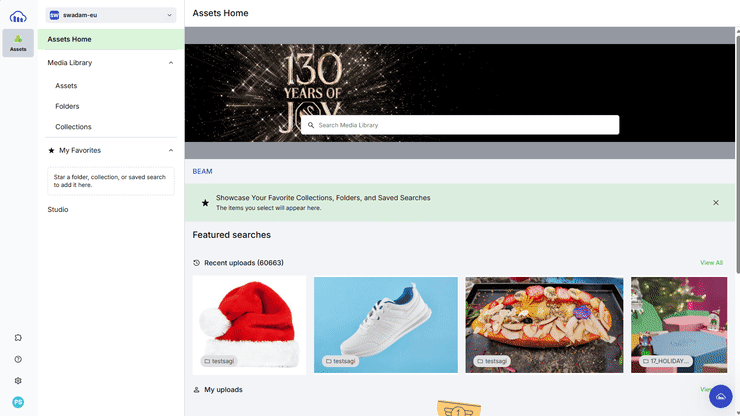
There are four ways to find assets.
Global Search
Enter free text in the search bar. Assets that include the searched value in commonly searched fields, such as asset name and tags, are included in the results.

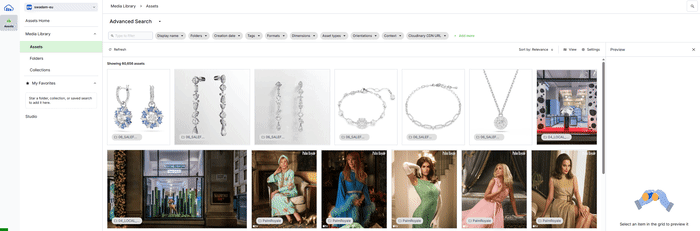
Advanced Search
Search based on a large variety of filtering criteria including media type, upload date, tags, folder location, format, orientation, dimensions, and custom metadata fields.

Click image to enlarge
Visual Search
Find images based on their visual content, not just their name or metadata. Upload or select an image to find visually similar assets.
Click image to enlarge
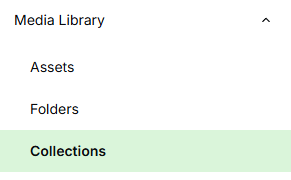
Query Builder
Perform complex searches by entering search expressions. Ideal for technical users who need precise control over search criteria.
Detailed information can be found on Cloudinary's documentation website: Query Builder
Good to know
-
Use the keyboard shortcut
/ to quickly focus the search bar when in Folder or Assets view.
-
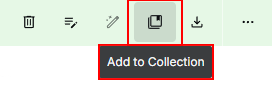
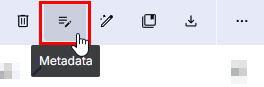
You can perform operations on search results like tagging, adding to collections, or moving to folders.